The Journal · Hardware Guides
How to Install a Door Handle in 15 Minutes a DIY guide
No HVAC tech. No mid-project trip to the hardware store. Just a screwdriver, the included Allen wrench, and about a quarter of an hour from old to upgraded — following OKUN's own installation manual, step for step.

The short version
- A standard interior handle swap takes about 15 minutes with a Phillips screwdriver and the included Allen wrench.
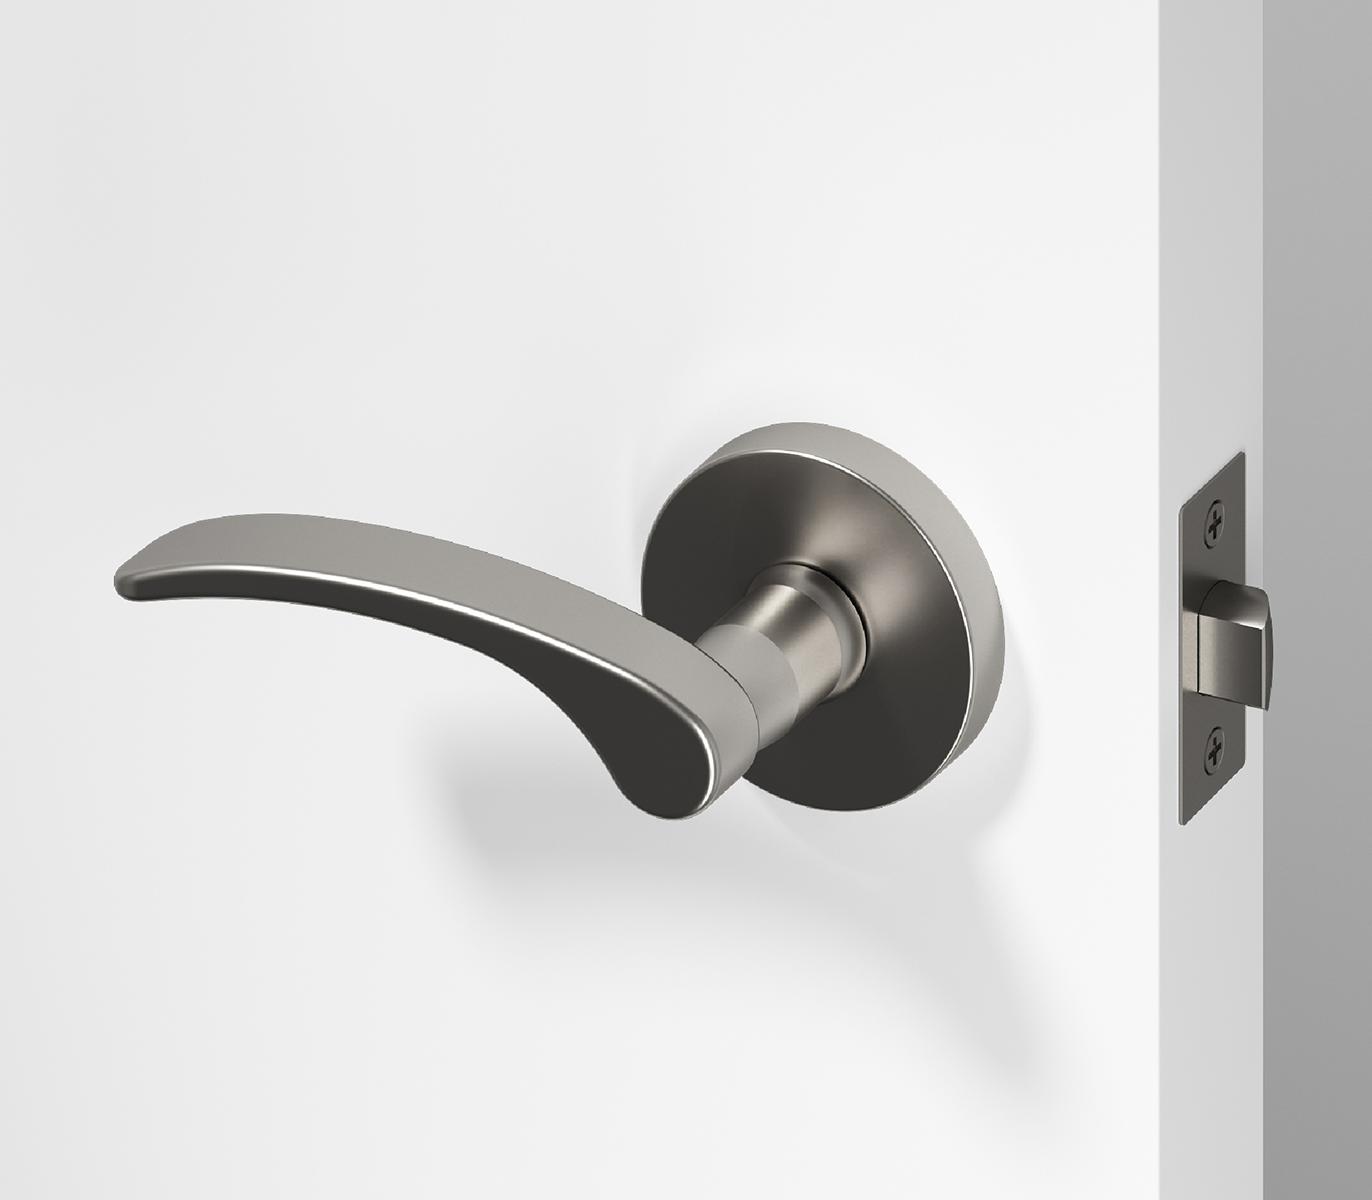
- Every OKUN privacy set ships complete — two levers, spindle, adjustable latch, strike plate, optional dust box, short and long screws, and an Allen wrench.
- Set the backset to 2 3/8" (60 mm) or 2 3/4" (70 mm); the OKUN latch adjusts to both.
- The interior handle disassembles and re-secures with the Allen wrench — not rosette screws — while the long screws join the two sides.
- The official manual runs 10 short steps: prepare → latch → install latch → prep interior handle → exterior handle → fixation → assemble → fix interior handle → strike plate → test.
A door handle is one of the few objects in a home you touch dozens of times a day. Get it right and a room feels intentional — clean lever, solid click, finish that matches the rest of the house. Get it wrong and every open door is a small reminder of builder-grade hardware you never chose.
The good news: upgrading one is one of the most satisfying jobs in the house, and one of the fastest. If you can hang a picture frame, you can do this. Here's the whole process, start to finish.
What you need before you start
The beauty of an OKUN handle is what's already in the box. There's no shopping list — just confirm a couple of measurements and grab a screwdriver.
Tools & what's included
| From your toolbox | A Phillips screwdriver. (A drill only if you're starting from a brand-new, unbored door.) |
|---|---|
| In the OKUN box | Lever with emergency unlock, lever with lock, spindle, adjustable latch, strike plate, optional dust box, short screws, long screws, and an Allen wrench. |
| Door specs to confirm | Cross-bore Ø 2 1/8" (54 mm), edge bore Ø 1" (25 mm), door thickness 1 3/8"–1 3/4" (35–45 mm), backset 2 3/8" or 2 3/4". |
| Recommended height | About 38" (965 mm) from the floor to the center of the handle. |
| Time | About 15 minutes per door for an already-bored door. |
Everything required to mount the handle ships in the box — including the Allen wrench that locks it in place.

Passage vs. privacy vs. dummy: which door handle do I need?
OKUN door handles come in three functions, and choosing the right one takes ten seconds. The short answer: use passage for doors that don't lock, privacy for doors that do, and dummy for doors that don't actually open. Here's how they compare side by side.
OKUN door handle functions compared
| Function | Best for | Does it lock? | How it works |
|---|---|---|---|
| Passage | Hallways, closets, laundry rooms, and living rooms | No | The lever turns freely from both sides with no locking mechanism — the everyday choice for doors that just need to open and close. |
| Privacy | Bedrooms and bathrooms | Yes | A push-button lock on the inside, with an emergency override on the outside (release it with the included tool, a coin, or a flat screwdriver) — ideal for rooms that need privacy but must stay reachable in a pinch. |
| Dummy | Closets, bi-fold doors, and decorative or double doors | No | A fixed, non-turning lever mounted as a pull or push handle — there's no latch, so it simply screws to the door face. |
Quick rule of thumb: locks → privacy, opens but doesn't lock → passage, doesn't open → dummy. Browse all three in OKUN door handles.
Because a dummy handle has no latch mechanism, it's the fastest of the three to install — two screws and done. Passage and privacy handles share the same ten-step process below; the only difference is that a privacy handle adds the push-button lock.
The 15-minute install, step by step
These ten steps follow OKUN's official privacy handle installation manual. They assume a door that's already bored — the most common case when you're upgrading existing hardware. (For a brand-new door, use the drilling template included in the box first.)
-
Preparation
Check that every component is in the box and gather a screwdriver, measuring tape, and pencil. Confirm the door has the right bores — Ø 2 1/8" (54 mm) face and Ø 1" (25 mm) edge — on a door 1 3/8"–1 3/4" thick. Mark the handle position about 38" (965 mm) from the floor.

The bore dimensions and recommended handle height, straight from the OKUN manual. -
Prepare the latch
Set the adjustable latch to your backset — 2 3/8" (60 mm) or 2 3/4" (70 mm) — so the spindle hole sits centered in the face bore. Slide the latch into the bored hole on the edge of the door.

Set the adjustable latch to your backset — 2 3/8" or 2 3/4" — before sliding it in. -
Install the latch
Check the door's closing direction so the angled face of the bolt points toward the jamb. Then secure the latch faceplate to the door edge with the short screws using a screwdriver.

Check the closing direction, then secure the latch with the short screws. -
Prepare the interior handle
Using the included Allen wrench, disassemble the interior handle — separating the lever from its rosette adapter so each part is ready to mount.
-
Install the exterior handle
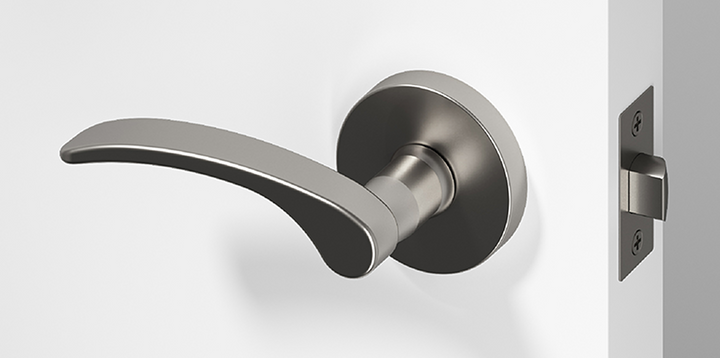
Place the exterior handle on the outside of the door, feeding its spindle through the holes in the latch mechanism. The exterior hole must line up with the interior rosette hole.

Feeding the spindle through the latch — the exterior hole must align with the interior rosette hole. -
Fixation of door handles
Secure the interior handle adapter to the exterior handle with the long screws. Keep the screw-hole opening positioned downward during installation — this is the orientation the manual calls for.

Join the two sides with the long screws — screw-hole opening facing downward. -
Assemble the interior handle
Fit the interior handle onto the mounted adapter, making sure the handle's spindle aligns with the square hole in the lock mechanism.

Fit the interior handle so its spindle lines up with the square hole. -
Fix the interior handle
Use the Allen wrench to lock the interior handle in place, then confirm it's firmly attached to the door with no play.

Lock the interior handle with the Allen wrench and check for any play. -
Install the strike plate
Position the strike plate on the door frame so it aligns with the latch, mark the screw positions, drill pilot holes, and attach it with screws. Add the optional dust box behind it if you'd like a cleaner pocket.

Align the strike plate to the latch, drill pilot holes, and screw it to the frame. -
Test and finish
Close the door to confirm the latch and strike plate align, work the lever to check for smooth operation, tighten all screws, and wipe down the handle and surrounding area. A smooth motion and a solid click mean you're done.

Close the door, test the lever, and tighten everything down — a solid click means it's done.
The three things that slow people down
A 15-minute job becomes a 40-minute job for one of three reasons. Knowing them in advance is most of the fix.
Common snags & quick fixes
| The snag | The fix |
|---|---|
| Wrong backset | Set the latch before fitting. OKUN latches adjust between 2 3/8" (60 mm) and 2 3/4" (70 mm) — measure edge-to-bore-center first. |
| Latch bevel facing the wrong way | The angled face of the bolt should point toward the jamb so the door pulls itself shut. Check the closing direction in Step 3 and flip it if needed. |
| Screw-hole opening facing up | During fixation (Step 6), the screw-hole opening must sit downward. Rotate the adapter before driving the long screws. |
| Spindle won't seat | The interior handle's spindle has to align with the square hole in the lock mechanism. Rotate the lever a touch until it drops in cleanly. |
| Strike plate misaligned | Close the door slowly and watch where the bolt lands. Shift the strike plate until the bolt drops cleanly into the opening, then add the dust box if using it. |
Lever handing: which way does it point?
This is the question that trips up more first-timers than any other — and the rule is simple: the lever always points away from the hinges. Set it that way and the lever falls naturally under your hand and never collides with the door frame.
To read your door, stand on the outside and look at it. If the hinges are on the left, it's a left-hand door and the lever points right. If the hinges are on the right, it's a right-hand door and the lever points left. OKUN levers are fully reversible, so a single set handles both — you simply orient the lever before locking it down with the Allen wrench in Step 8.
Do the whole house in an afternoon
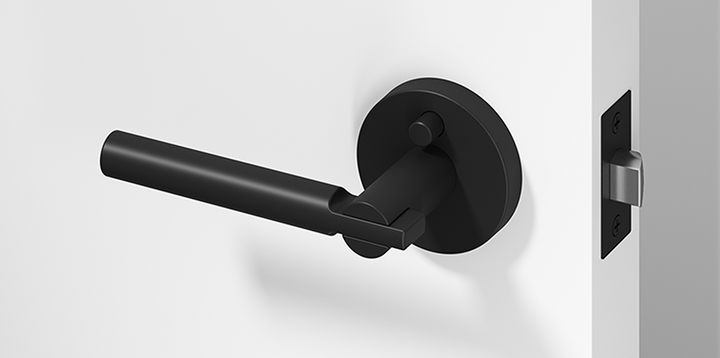
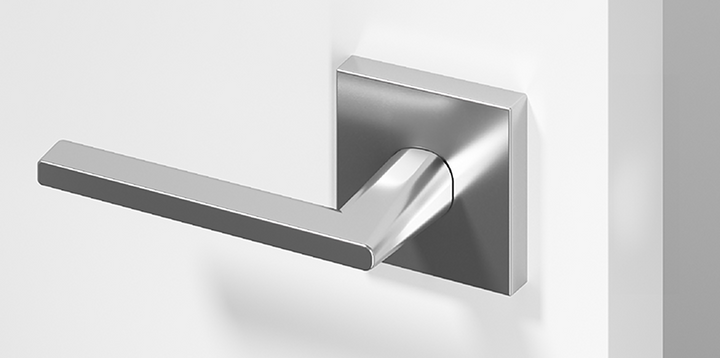
Here's the part nobody tells you: the second handle takes ten minutes, and the third takes eight. Because all OKUN finishes — matte black, brushed nickel, and chrome — run across every collection, you can carry one cohesive look from the entry hall to the last bedroom in a single afternoon. The same lever, the same click, the same considered detail on every door.
That's the quiet upgrade builder-grade hardware never gives you: a home that feels designed, not assembled.
Frequently asked questions
Do I need a drill to install a door handle?
Not for a replacement. If your door is already bored, a Phillips screwdriver plus the included Allen wrench is all you need. You'd only reach for a drill on a brand-new, unbored door — and OKUN includes a drilling template for that. Every set ships with the latch, strike plate, screws, and Allen wrench, so there are no extra parts to buy.
What is a backset and how do I find mine?
The backset is the distance from the edge of the door to the center of the bore hole. It's almost always 2 3/8 inches (60 mm) or 2 3/4 inches (70 mm). Set the adjustable OKUN latch to match before you fit it.
How is the handle actually secured to the door?
The two sides are joined with the long screws — with the screw-hole opening facing downward — then the interior handle is locked in place with the included Allen wrench. The latch and strike plate are fastened separately with the short screws using a screwdriver.
Can OKUN handles install on left- and right-hand doors?
Yes. OKUN levers are fully reversible, so a single set works on both. Orient the lever to point away from the hinges, then lock it in place with the Allen wrench.
Which way should the lever point?
Always away from the hinges. Stand outside the door: if the hinges are on the left, the lever points right; if they're on the right, it points left. This keeps the motion natural and stops the lever from hitting the door frame.
Will an OKUN handle fit my existing pre-drilled door?
In nearly every case, yes. OKUN handles fit standard bores — a 2 1/8" (54 mm) face hole and a 1" (25 mm) edge hole — with an adjustable latch for both common backsets. If your door already has a handle, the holes are almost certainly standard and no new drilling is needed.
How do I unlock a privacy handle from the outside in an emergency?
OKUN privacy handles lock with a push-button on the inside and include an emergency override. From the outside, use the included unlock tool — or a small flat-blade screwdriver or coin — in the slot on the exterior lever to release it. That makes them a safe choice for bathrooms and kids' rooms.
My new handle feels loose or wobbly — how do I fix it?
Almost always a loose screw. Re-tighten the long screws joining the two sides and confirm the Allen-wrench set screw on the interior lever is snug — firm, not overtightened. If the screws spin without biting, the holes may be worn; a slightly larger screw or a little wood filler restores the grip.
The door won't latch or stay shut — what's wrong?
The strike plate and latch aren't aligned. Close the door slowly and watch where the latch bolt meets the jamb, then shift the strike plate up, down, or sideways until the bolt drops cleanly into the opening. Also check the latch bevel faces the jamb so the door pulls itself shut.
What door thickness do OKUN handles fit?
OKUN handles fit standard interior doors from 1 3/8 inch to 1 3/4 inch thick — nearly every interior door in a typical home.
How long does it really take to install one handle?
For a straightforward replacement on an already-prepped door, about 15 minutes once you've done one. Your first may take a little longer; by the third you'll be ahead of schedule.
Premium door handles for less.
Clean lines, a solid click, three finishes across every collection — and a 15-minute install.
Shop Door Handles →Installing for a bedroom or bath? Shop privacy handles →